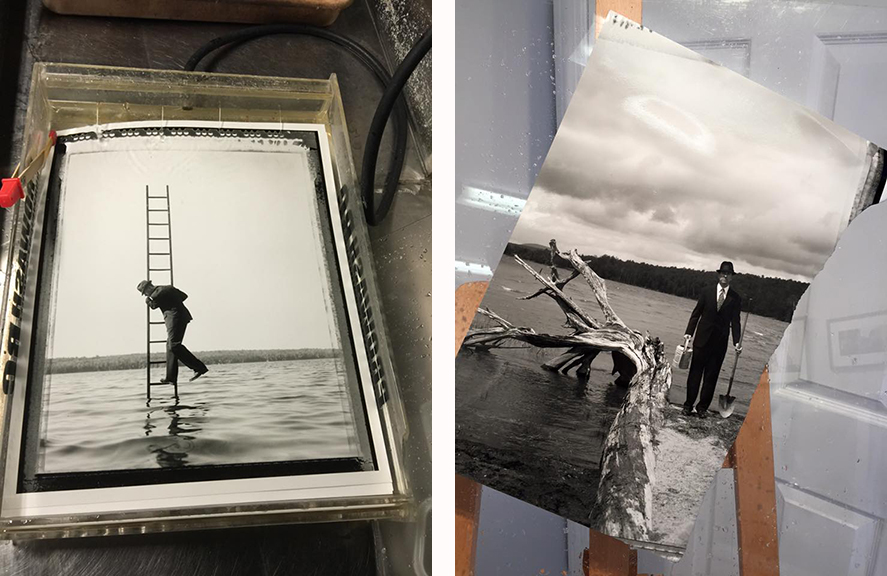
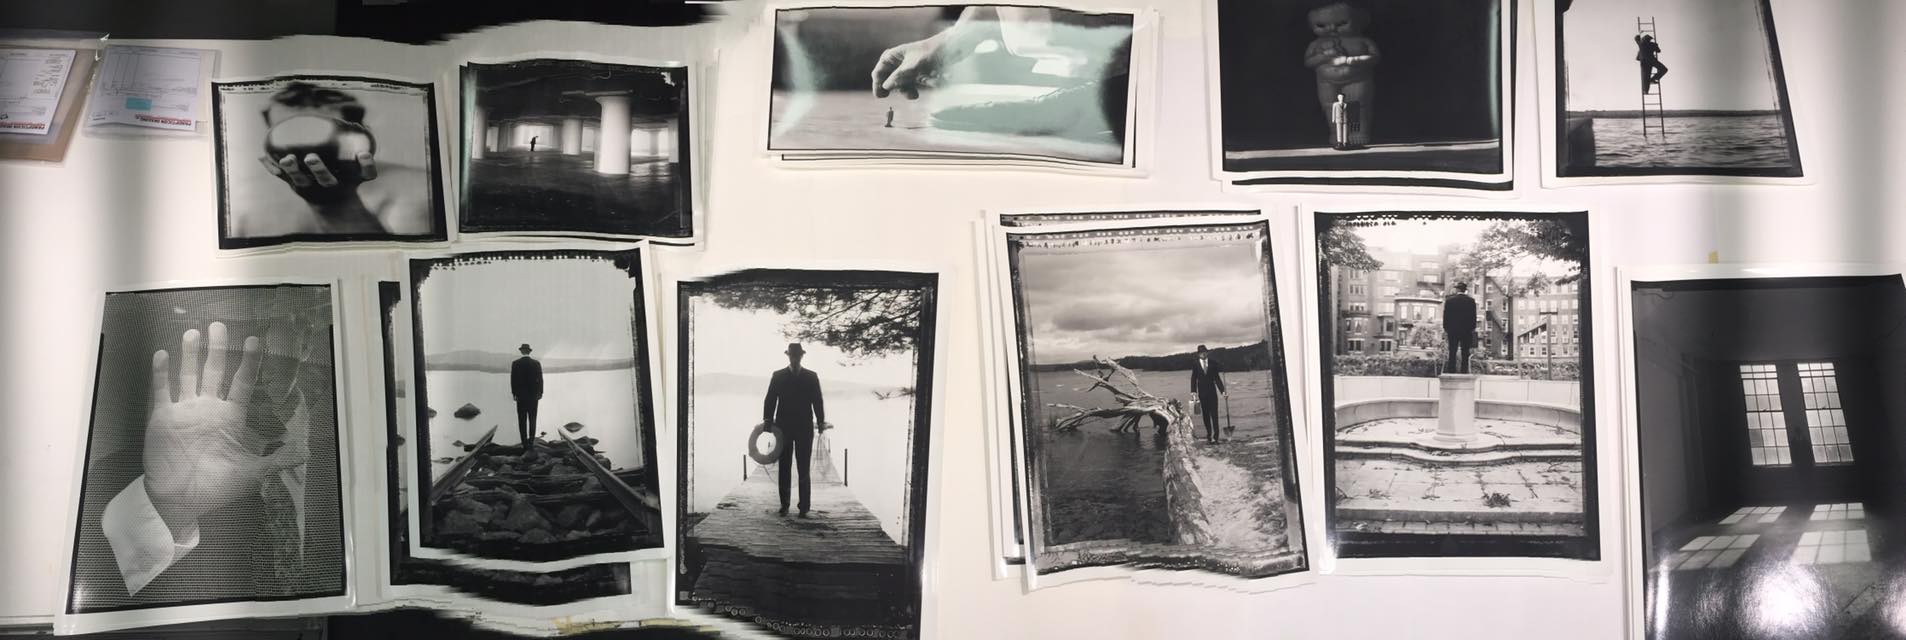
While we use photoshop on daily basis to create beautiful digital images we also love using traditional darkroom techniques to create the best fiber or RC print we can. Almost every print we make requires some dodging and burning. Here is a brief explanation of dodging and burning:
BURNING IN
This is where a portion of a print is too bright after the main exposure. The majority of the print looks good, so additional exposure would make it too dark. To fix this you add additional light ONLY to the bright area. To do this you cut a hole in cardboard or use your hand in a cup shape to project a beam of light back onto the paper AFTER the main exposure. This happens a lot in skies or if a heavy flash has been used. We also use burning to add a vignette to an image.
Some of our burning tools
DODGING
This is where a portion of a print is too dark in the shadows after the main exposure is made on the enlarger. To fix this during the exposure you hold back or shade the problem area with a dodge tool (a piece of dark cardboard or plastic on the end of a thin metal wand). The time using the tool varies depending on how dark the problem area is during the main exposure. It is very important to keep the dodge tool in motion during the exposure, this helps feather the effect and makes it blend into the rest of the photograph. We usually use dodging in shadows to bring out texture in the print. You want to have a rich black but you do not want to block up all of the shadows in the image to achieve the rich black!
Some of our dodging tools
An example of darkroom dodging and burning from Fstoppers
If you want to learn more about darkroom editing we recommend checking out this post on FStoppers Website


