Steps of a Photo Restoration

We see a lot of vintage photos here at Panopticon Imaging. They range from wedding portraits to family photos throughout the years to military portraits, the list goes on!  Here are the steps we go through for a photo restoration: STEP 1: Bring in your old photograph to the office. We will review the image with you & give you an estimate of how much & how long it will be to digitally restore. We DO NOT restore the original photograph. We scan it and digitally correct the image through Photoshop.

STEP 2: We scan your image. Using our high resolution Epson scanner, we create a digital copy from the original photograph.

STEP 3: We make adjustments in Photoshop. Here we fix cracks & damage to the image. This takes time and each photograph is different, it can take as little as 5 minutes or as much as 3 hours. We also adjust the contrast of the image, making faces lighter or certain areas darker. We can adjust the tone and make it black & white, sepia, or brown tone. The sepia is our most popular option, it makes the image still feel like an old photograph.

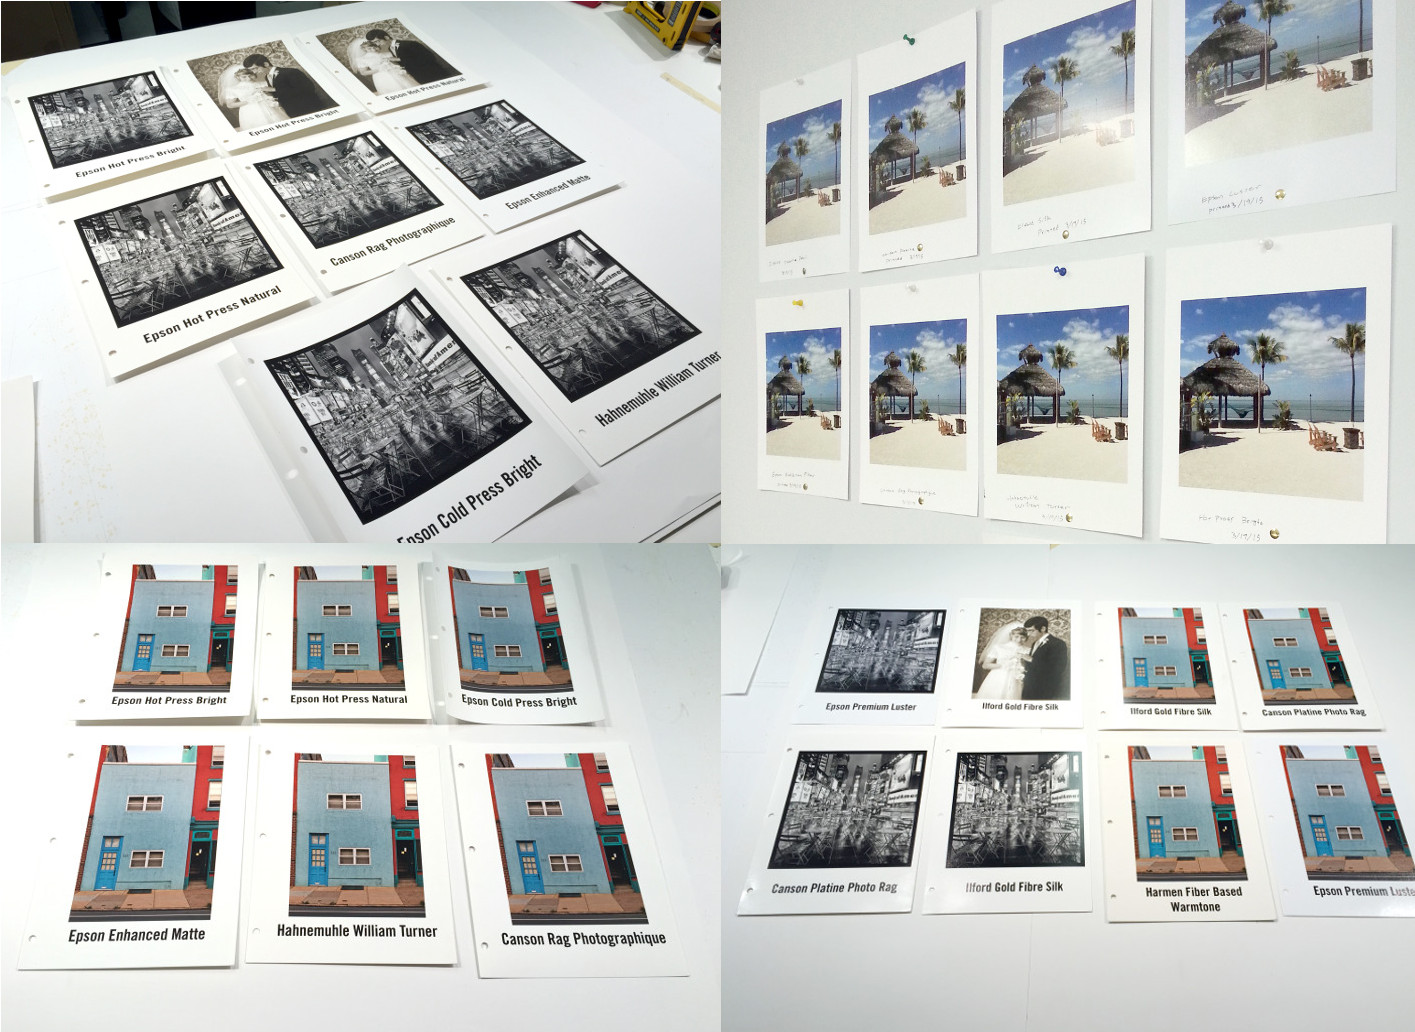
STEP 4: Time to print! We use all archival inks and papers here. This means your new print will last as long as it is treated properly (keeping it away from moisture & direct sunlight). When we meet with you we will tell you the sizes we recommend printing. Most vintage photographs are small to start with so they look the best staying in the 5x7 to 8x10 size.

These were the adjustments made to this image:

Whatever happened to your photograph, we are happy to help bring it back to life! Stop by the office or give us a call at 781-740-1300.

Custom Wood Frames

We love these custom wood frames from a local wood worker. The details and precision are amazing! Each molding can be made with Ash, Cherry, Maple, and Walnut woods with the option of staining or painting.

Here is Tony King's photograph we framed with the clear lacquered ash & maple splines:

Assembling the matte, glass & frame

Finished framed photograph

Detail of the maple spline

One hanging option: french cleat

Second hanging option: wire with d-rings

Artist Spotlight: Fern Nesson

Fern Nesson is a fine art photographer living in Cambridge, MA. She practiced as a lawyer for twenty years and taught history at the Cambridge School of Weston and, for the past ten years, she was the College Advisor at the Commonwealth School. Fern is currently in her first year of the MFA program at Maine Media College. Her abstract work is rooted in the elegance of light and line and is currently on display in our gallery until May 14, 2016.

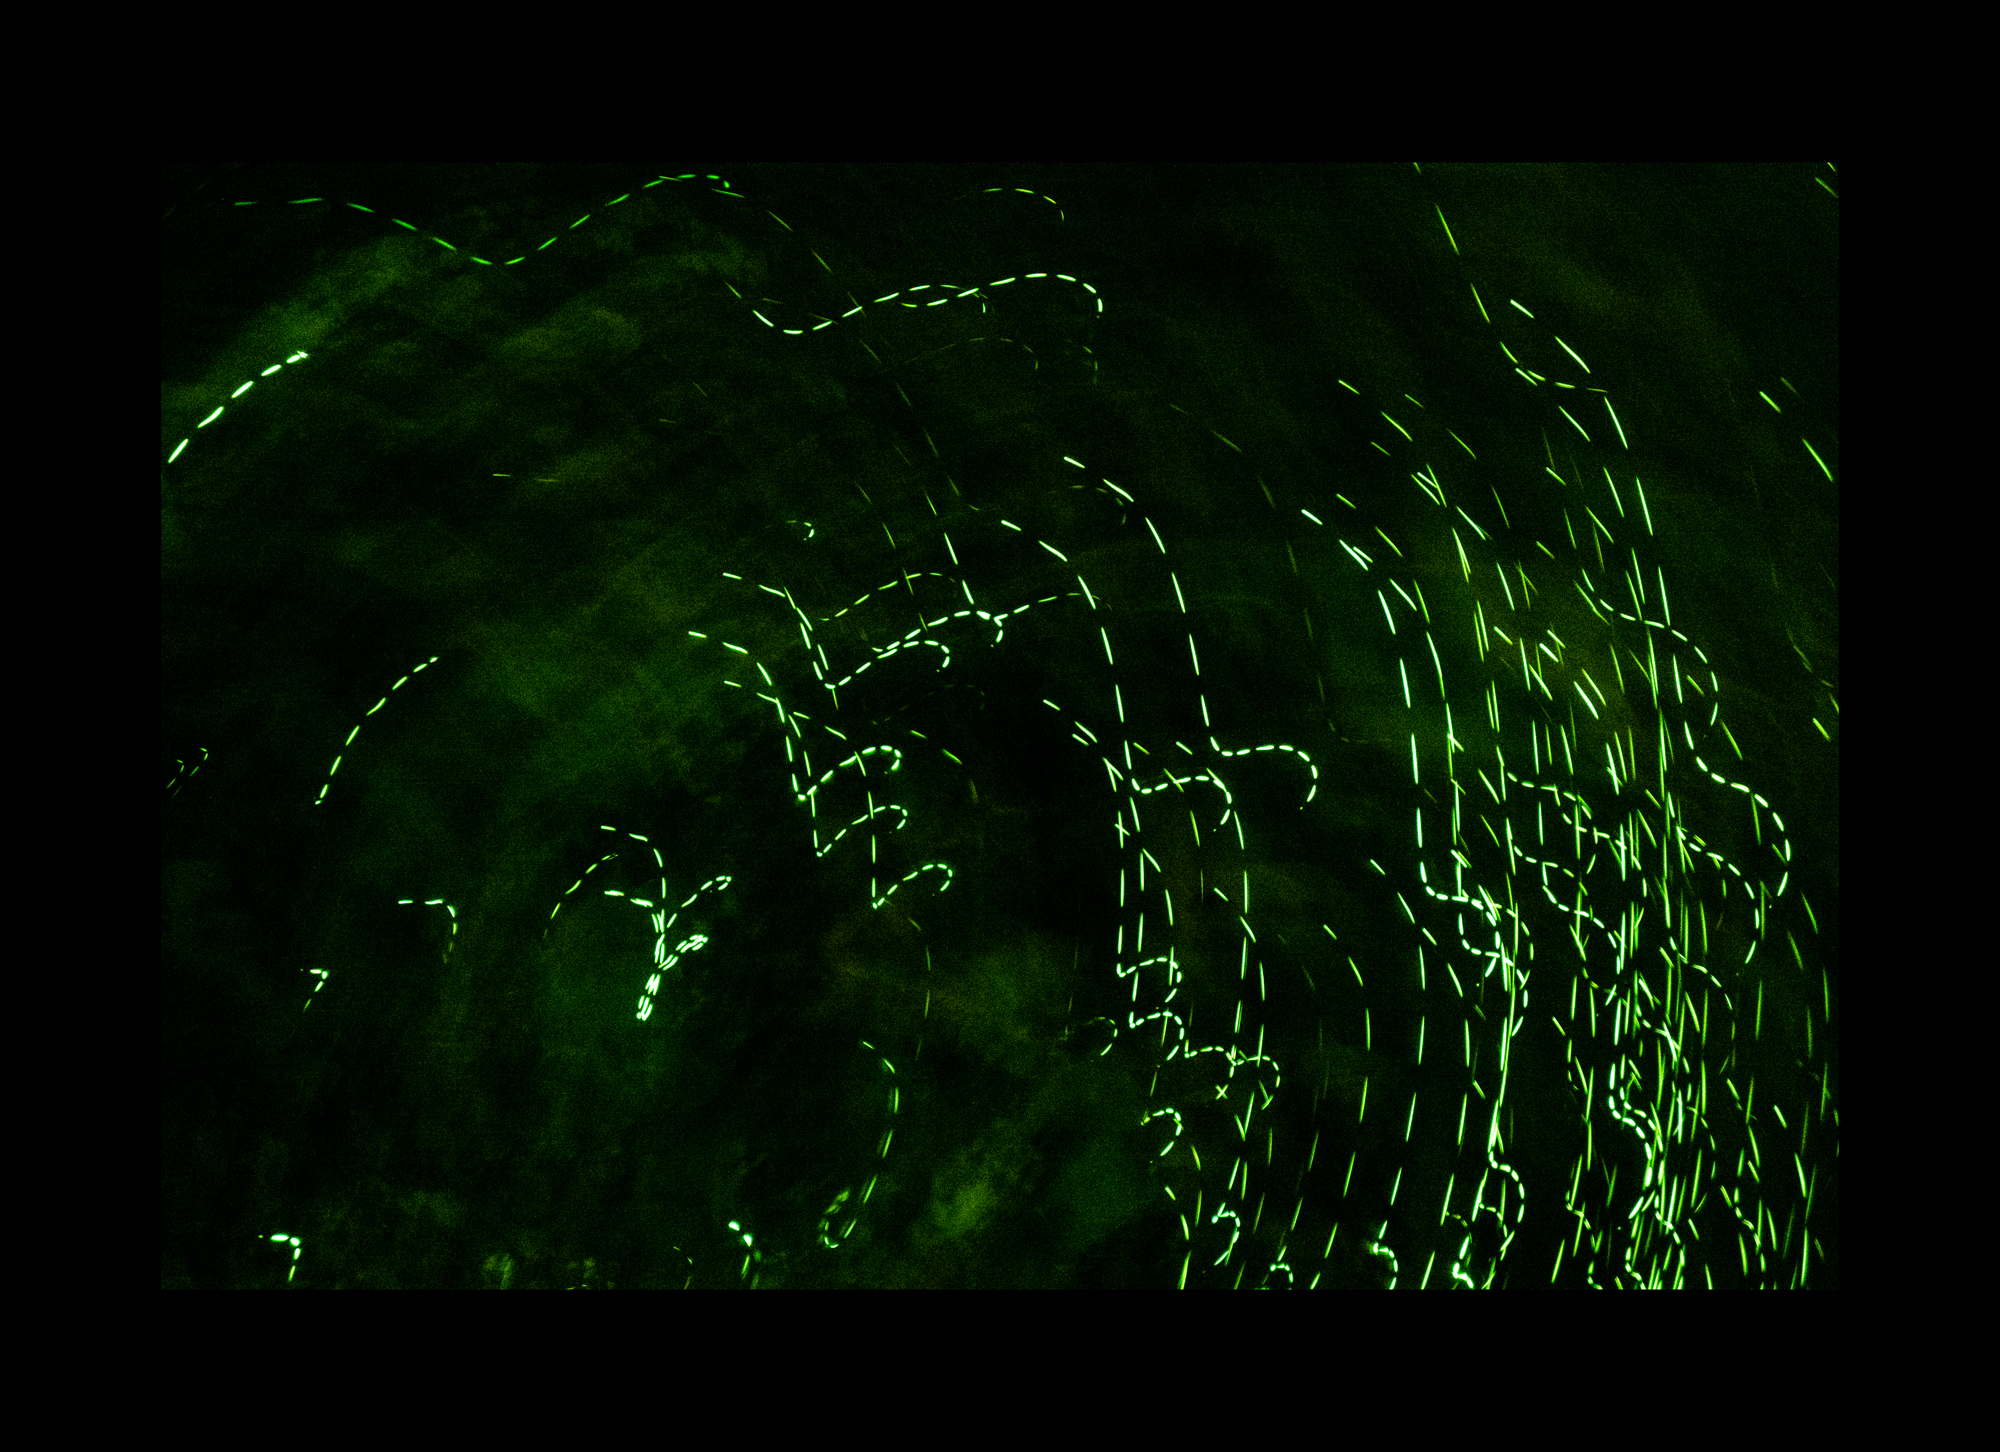
"Light Lines 1"

  • You have a background in law, how did you transition into the art world?

FN: I have taken a long journey through many, varied careers – lawyer, American historian, fiction and non-fiction writer, history, math and law teacher, college counselor -- but the spine of photography has run throughout my life. My father gave me my first camera when I was 8 and he taught me to develop my photos in the darkroom not long after. Since then, I have been engaged in looking at the world through a camera.

Until recently, photography was my hobby. I knew several great photographers (my father included) and followed their work with interest. About ten years ago, I interviewed my father and we published a book of his work. I have also collected photographs for many years. I am proud to own photographs by Michael Kenna, Ansel Adams and Bruce Cratsley, among others.

Several years ago, I decided to pursue my own photography more seriously. My initial goal was to learn to take better photos. I began by reviewing my past work and publishing several books of my photographs. Then I took a workshop in photography at the Penland School in North Carolina. Finally, last year, I quit my counseling job to do photography full-time.

It’s taken me a long time to accept the challenge of pursuing life as an artist but I am so thrilled to be doing it! Photography provides, as always, a wonderful way to experience the world and the improvement in the quality of my work as a result of studying and practicing it full-time is immensely rewarding.

"Morning Light 1"

  • You are currently attending the low residency masters program at Maine Media, tell us a little bit about the program. How has your work changed since starting your studies there?

FN: For my first semester, I am completing synergistic studio and academic projects, both entitled “An Exploration of Seeing.” Since November, I have taken over 20,000 (!) photographs, read a dozen of the great books about “seeing ” and written three lengthy papers describing the evolution of my own artistic vision. As an intellectual and artistic experience, a Maine Media education can’t be beat!

"Light Lines 3"

  • Your abstractions of light and shadow show a playful & insightful side to subjects we see everyday. How do you choose what you point your camera at?

FN: Light is the theme in all of my work. I don’t shoot objects for themselves; I shoot their interaction with light: are they illumined from within? Are they transparent? Are they reflective? Are they suffused with light? Do they glow? Are they in shadow? Do they sparkle? My subjects are quite varied but it’s all about the light.

"Morning Light 5"

  • What inspires you as an artist?

FN: I am drawn to elegance. In choosing a subject or a scene, I seek elegance in pattern, line, color and shape. I prefer the intricate, small detail, over the panorama. My photographs are abstract but not in the sense of removing detail; just the opposite. I focus on an element and I abstract it through the use of an unusual perspective or point of view.

"Light Lines 5"

  • Your current exhibition in our gallery space is a selection of images from various portfolios. How do you feel the individual pieces interact with one another as a whole?

FN: The photographs in my show, “The Light Dances,” are selected from three different series, which I shot in 2015-6. Although they are of radically different subjects – trees at night, a Calder stabile, and the curtains in my bedroom – they have certain underlying and essential characteristics in common.

First, they are each about light: light as it illumines and ennobles a dark object, light as it enhances a sculpture by throwing off shadows, light as it sparkles and brightens a cold winter landscape.

Second they are multiples. Varying the point of view on a single object takes advantage of all angles of the object and allows maximum concentration upon its interaction with light. The multiplicity of views points up what is so great about our existence: we all see things differently from each other and it is that very diversity that makes art and life so interesting.

Third, they use the power of black. Light as a subject shows up so beautifully when it is contrasted with black. Color can seem sometimes to be cheating; it can make even a dull picture interesting but black is a challenge. If you use it well, you get drama; if you use it badly, you get nothing.

"Stabile 1 - 4"

Packing Tips: Safe ways to wrap & handle Your Artwork

Here at Panopticon we have seen it all for packing material; Blankets, towels, trash bags or worst of all nothing. Framing is expensive and we have some tips on how to keep your frames and artwork safe!

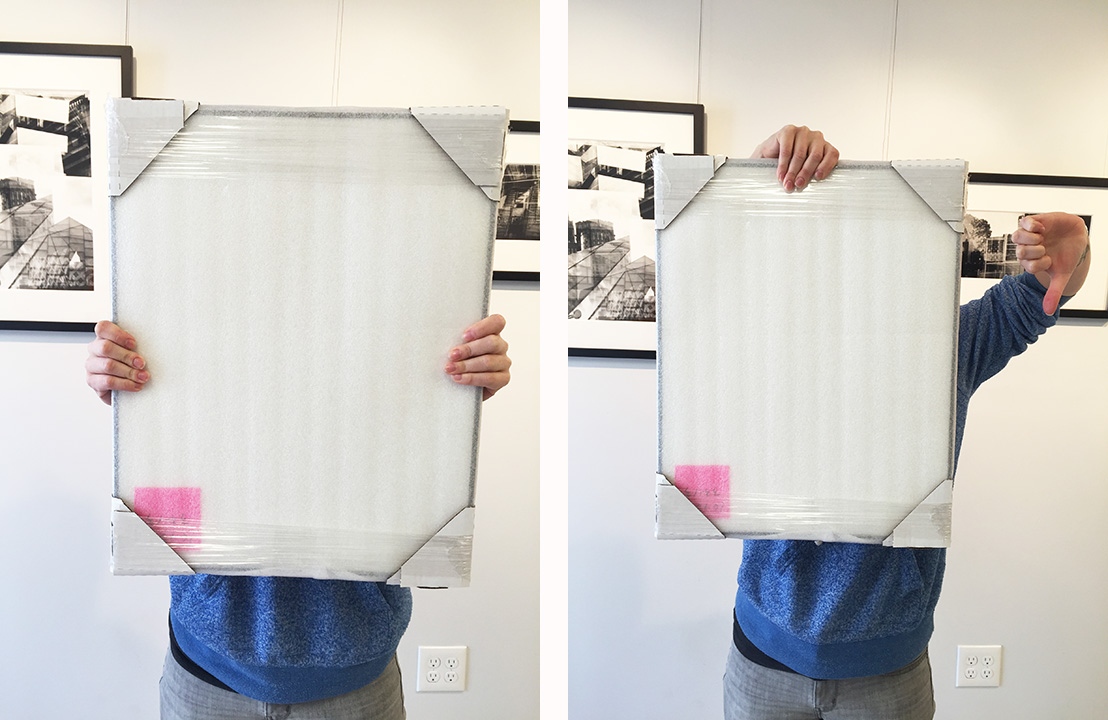
  1. Cardboard Corner Protectors

You can always DIY them yourself using scrap cardboard, buy them from Amazon in small batches or order bulk from Uline. This will prevent any rubbing / scratching of the frames. Corners are helpful if you have multiple frames that are all the same size. However, this will not protect the whole frame or the glass/PlexiGlas.

  1. Properly Stack them

Make sure to stack your frames vertically and to place them glass to glass and back to back while storing them. This will prevent the hardware from rubbing against your frame. The metal hardware and wire will ding the wood or scratch metal frame very easily. This goes for when they are wrapped or unwrapped.

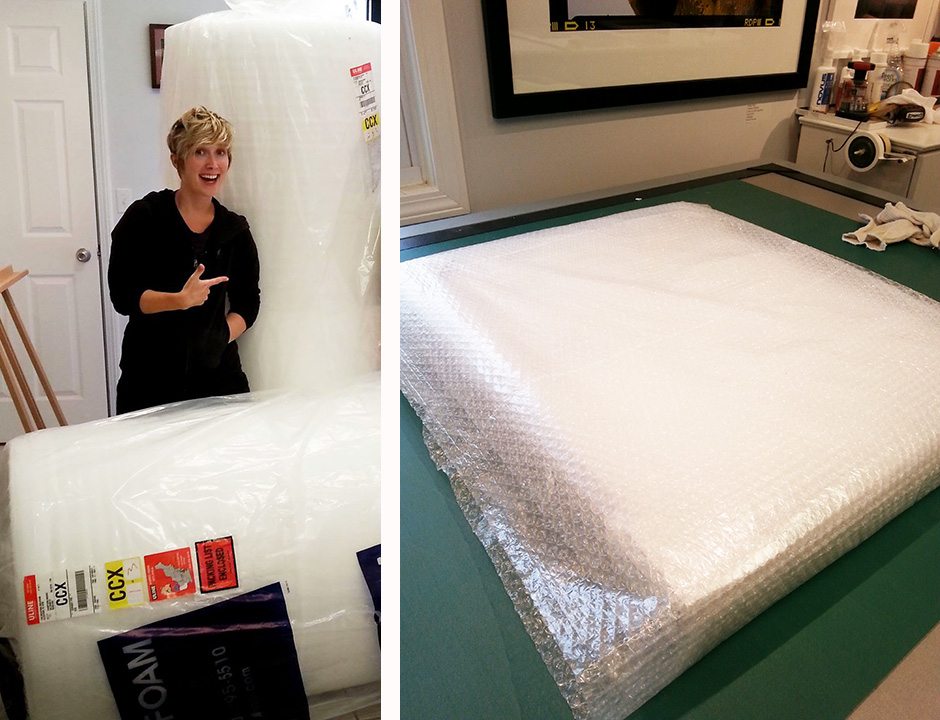
  1. Bubble Wrap

Keep your towels for the beach! While towels might be helpful at home this is not a good or effective solution for preventing damage, as there is no spring to the towel. Foam wrap or bubble wrap will take the impact and prevent your frame from getting damaged. You can order bubble online, pick it up from Uline or your local office supply store.

  1. Use Two Hands

Always pic up your frame using two hands! If it is a large image and you grab it by the top it can pull and your glazing can pop out of the frame. Ten and two just like driving school.

  1. Have us wrap it for you!

If all of this material is too much to handle we can ease your burden! Wrapping images properly is fun for us. We take care of your beloved artwork and make sure it is safe for handling and transport. If it is local we can deliver it for you or even ship your images. Let us know!

The bling bling frame

We recently framed a piece for a client in a beautiful water gilded frame and wanted to share the intricate process the frame makers go through to create such stunning frames. https://www.youtube.com/watch?v=67LM4Iovll4

The term gilding covers a number of decorative techniques for applying fine gold leaf or powder to solid surfaces such as wood, stone, or metal to give a thin coating of gold.

Here is the frame we used: